Get started now
Basement Waterproofing? Get instant quote
(Professional Remedial Waterproofing for Enclosed, Hard-to-Access Areas)
90%
Instant Accuracy. Get live, reliable quotes in seconds.
68k
Project Savings. Reduce time and procurement costs now.
.svg)
.svg)
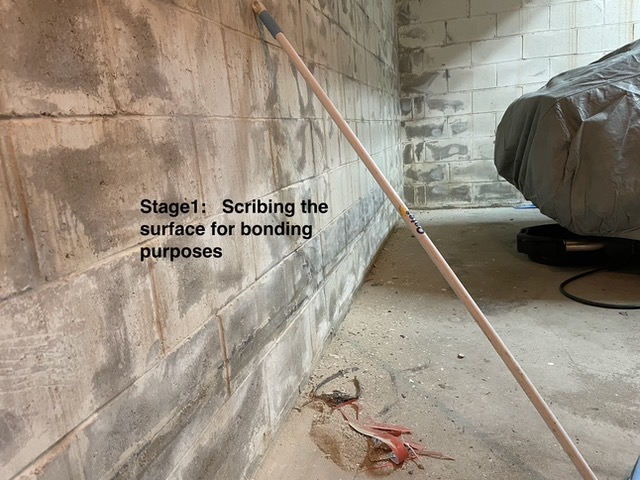
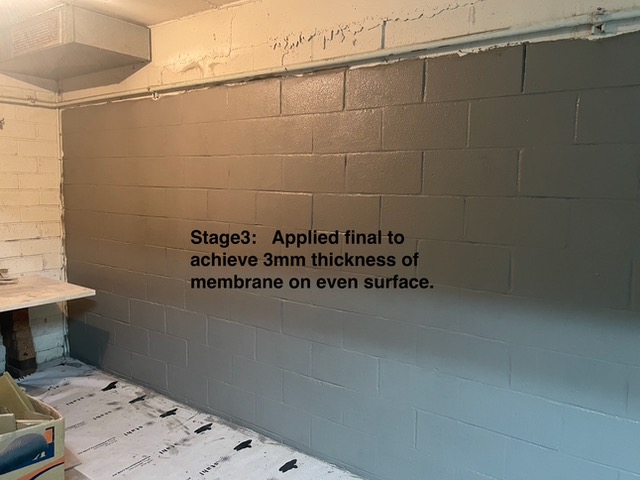
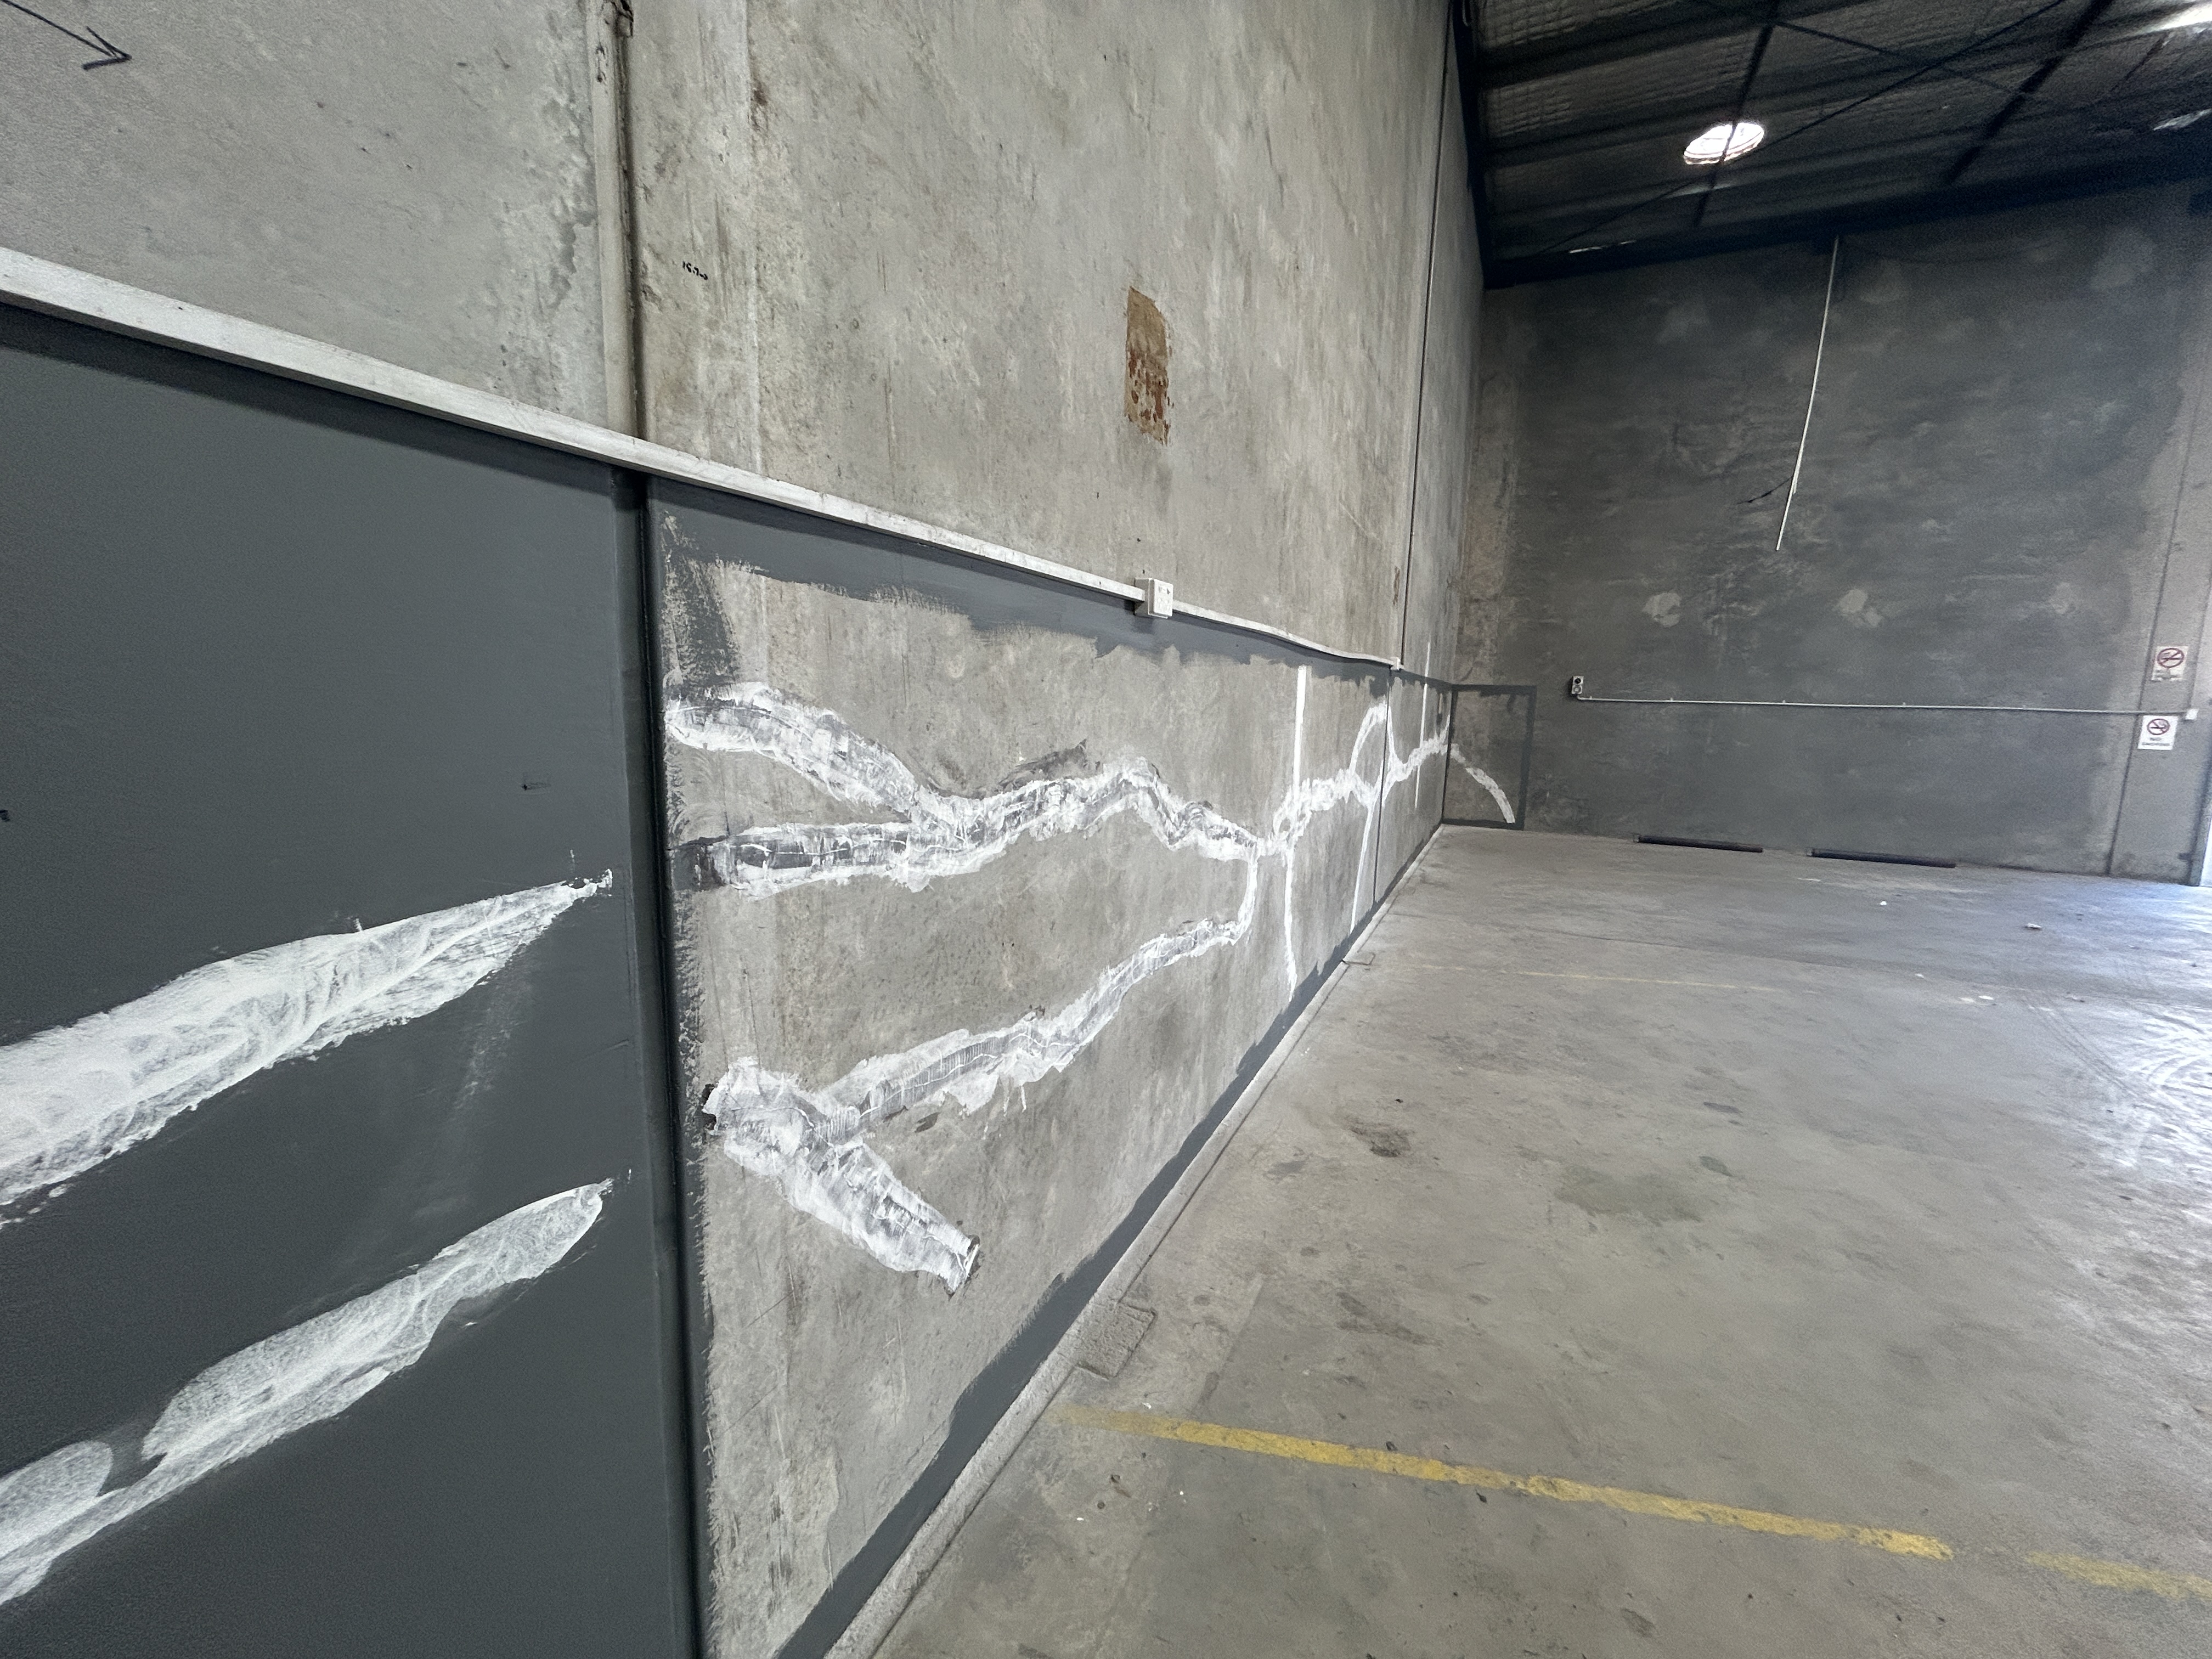
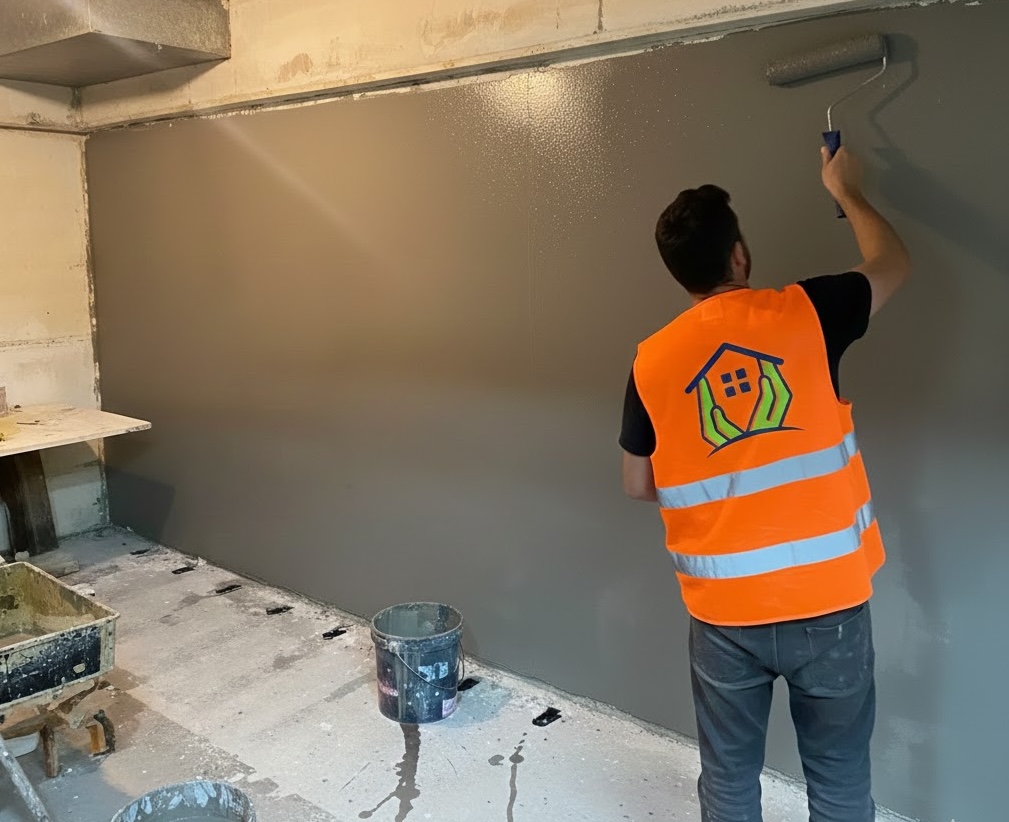
1. Basement wall waterproofing ($150/m²)
(For walls where the back side cannot be accessed)
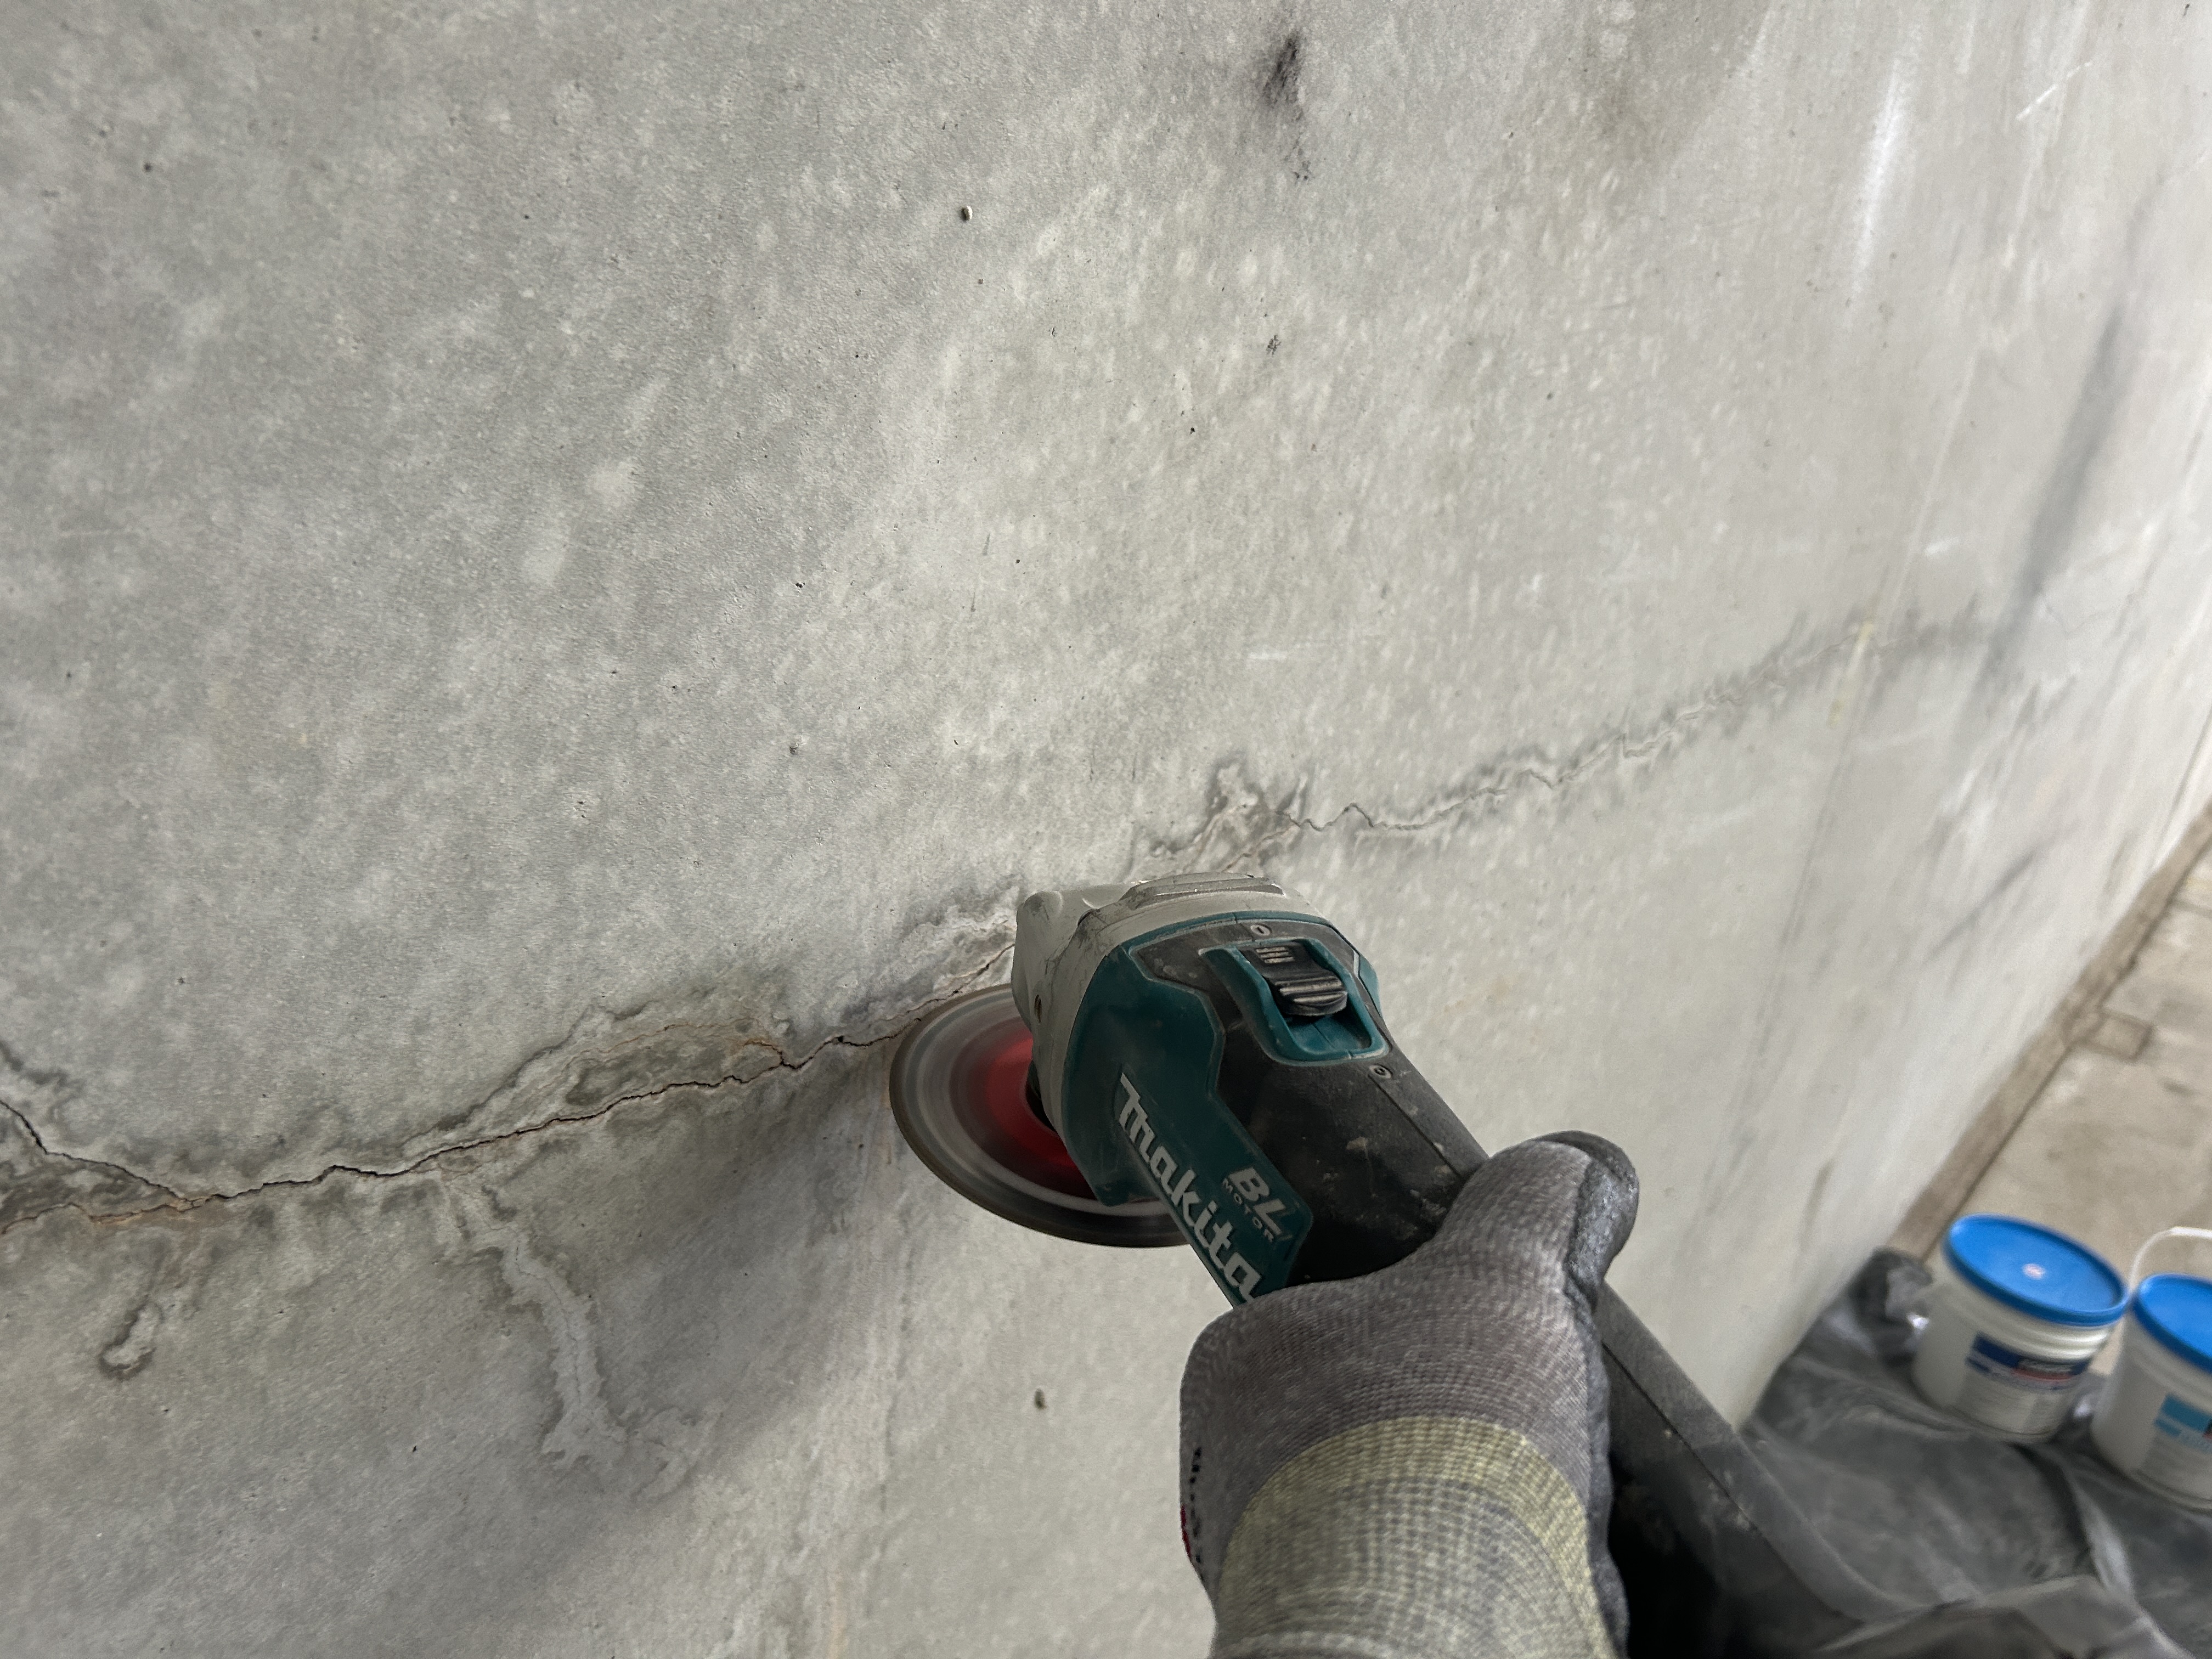
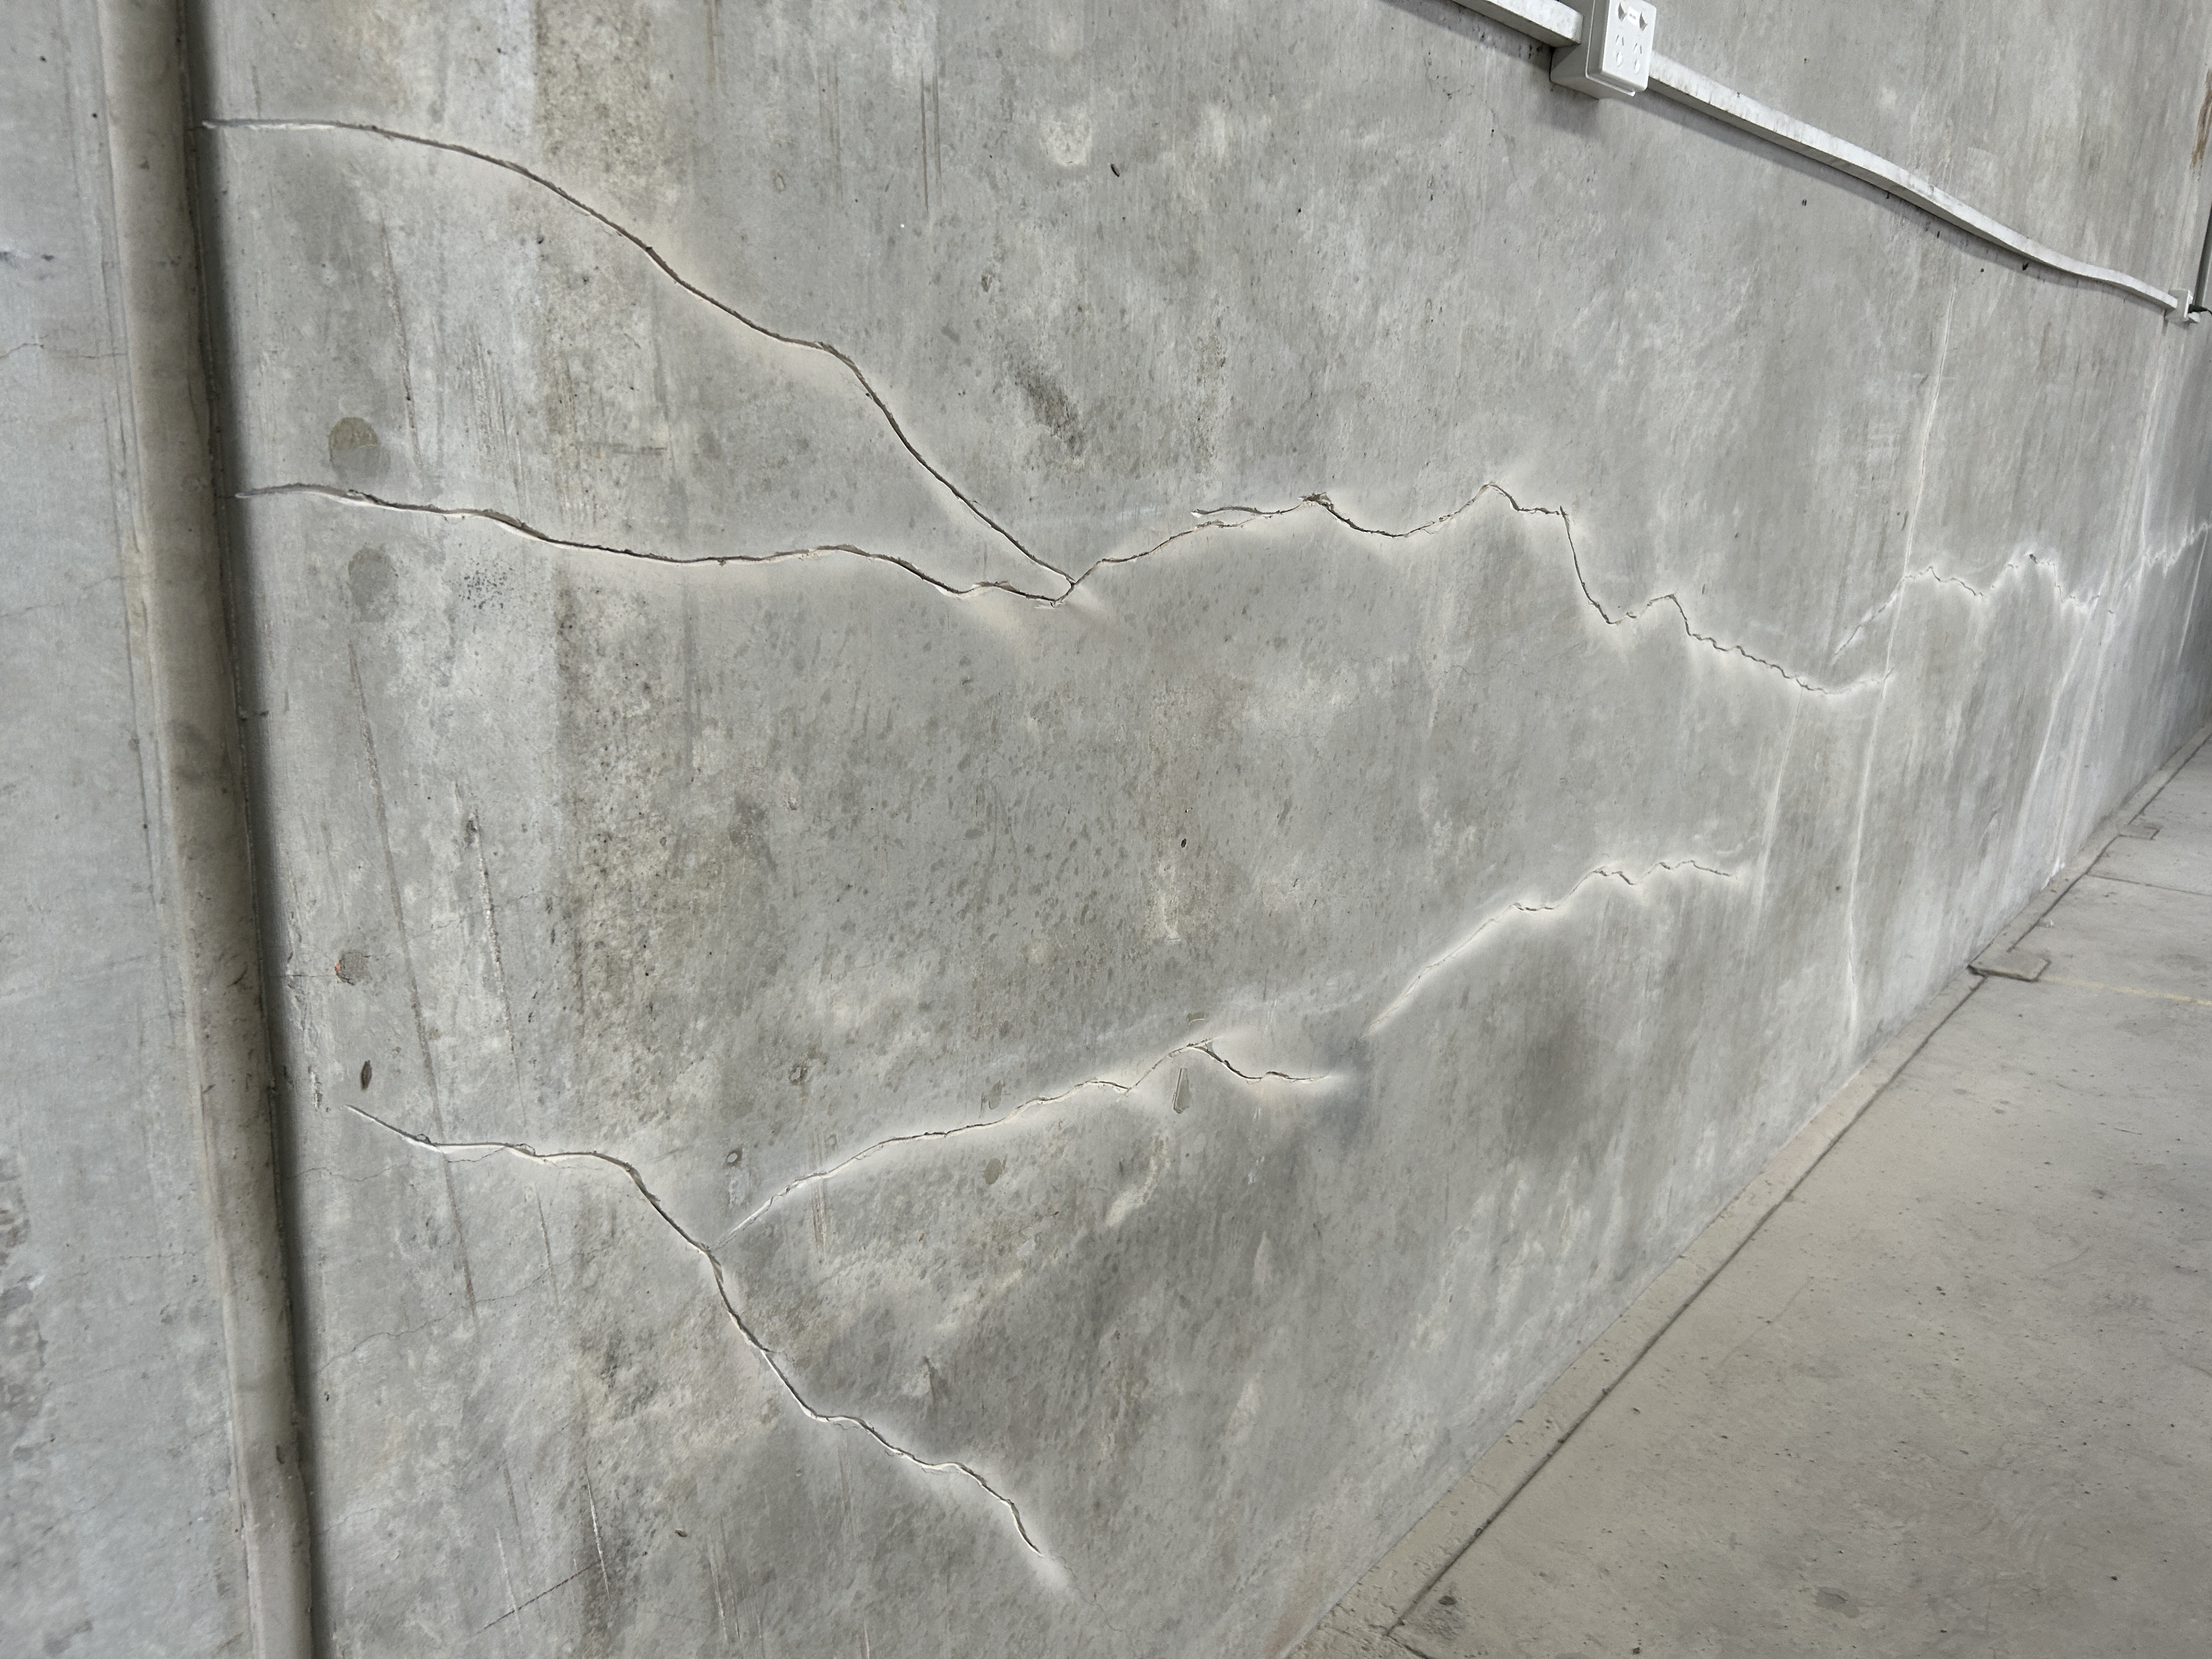
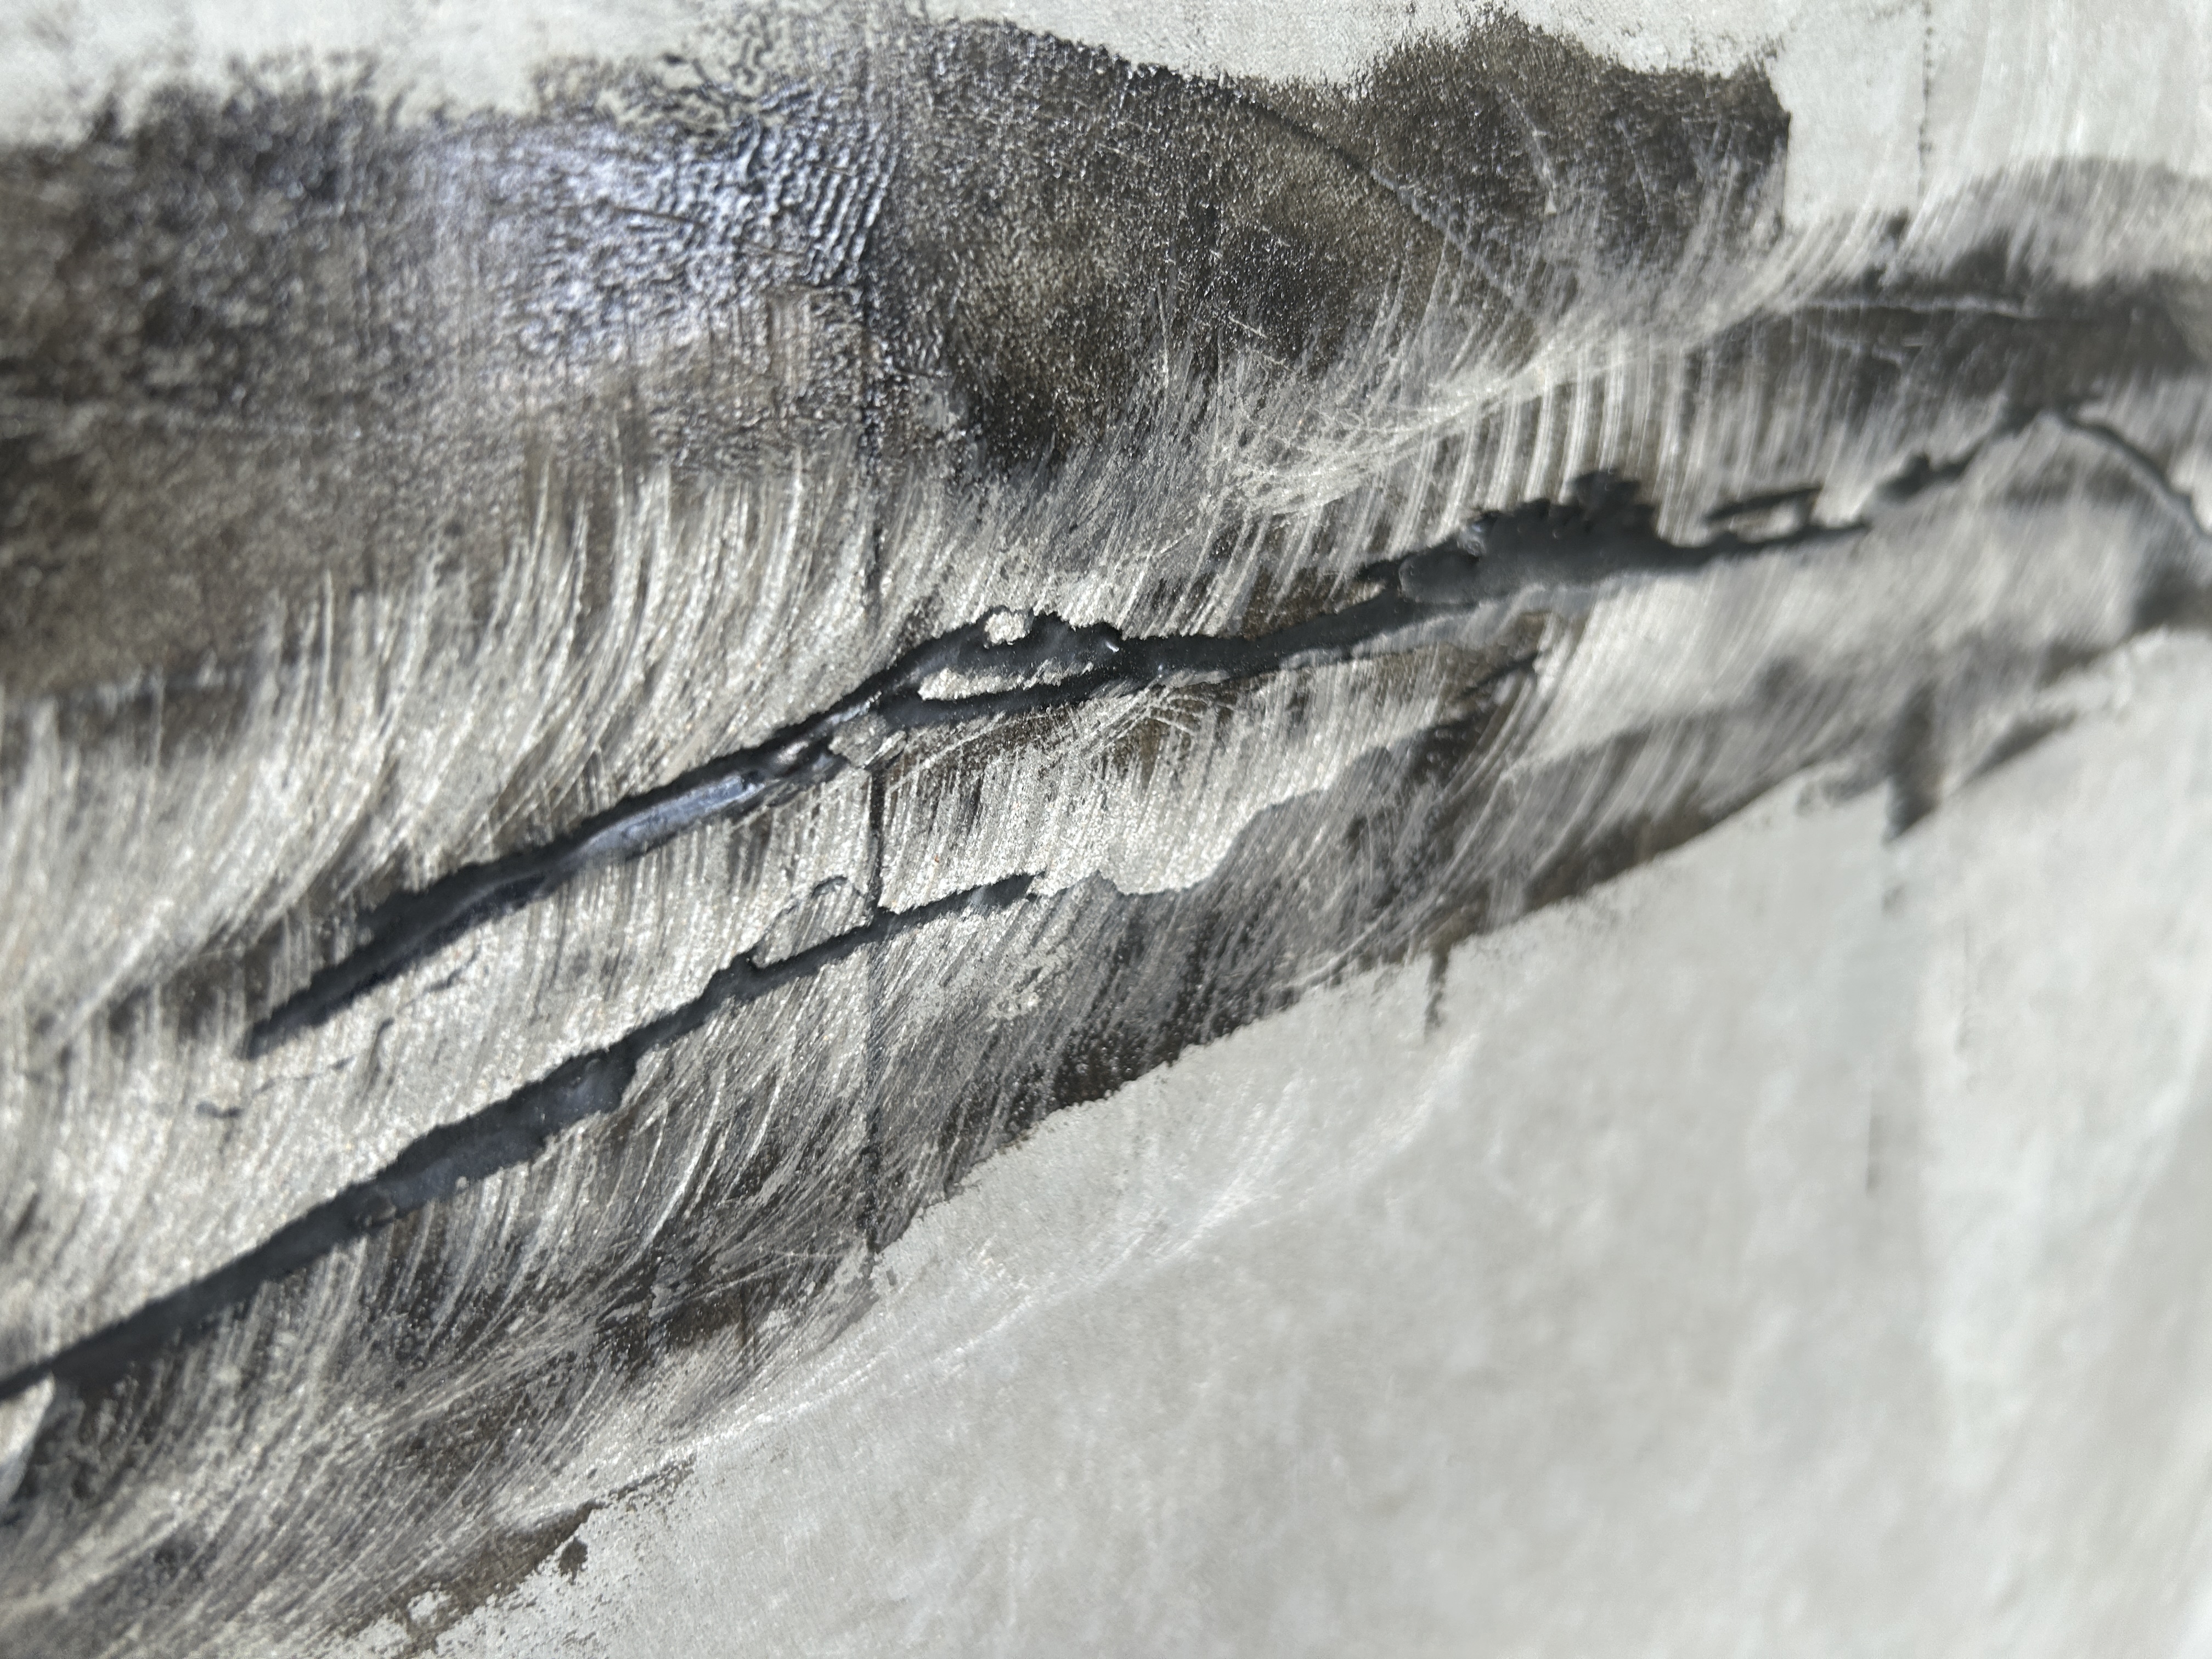
2. Wall creak epoxy filling techniques. ($180/m)
This methodology permanently welds the cracked masonry or concrete back together, restoring structural integrity to the wall panel, unlike flexible seals which only control movement.
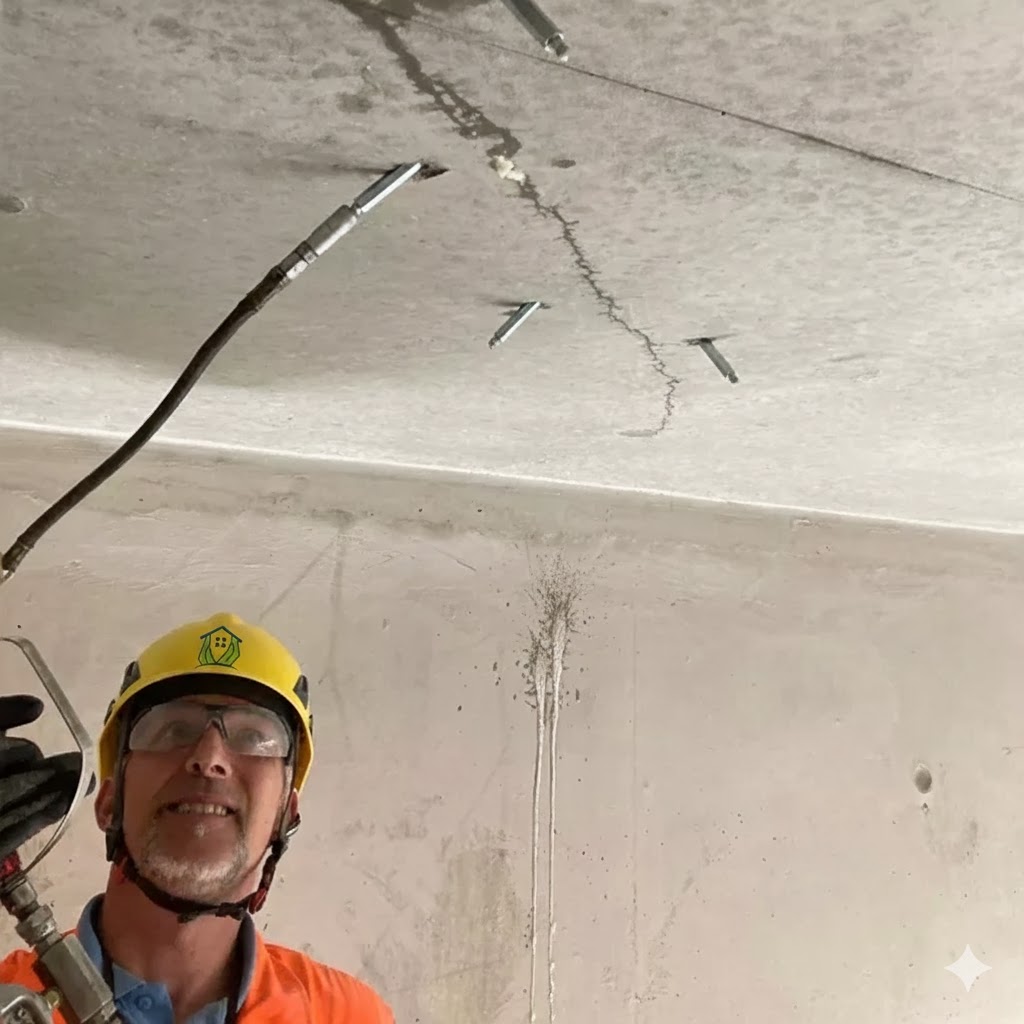
3. Ceiling Injection Membrane for Concrete Cracks ($220/m²)
(When water is leaking through cracks or efflorescence is forming)